The complete record-to-book guide

Speak naturally.
Publish beautifully.

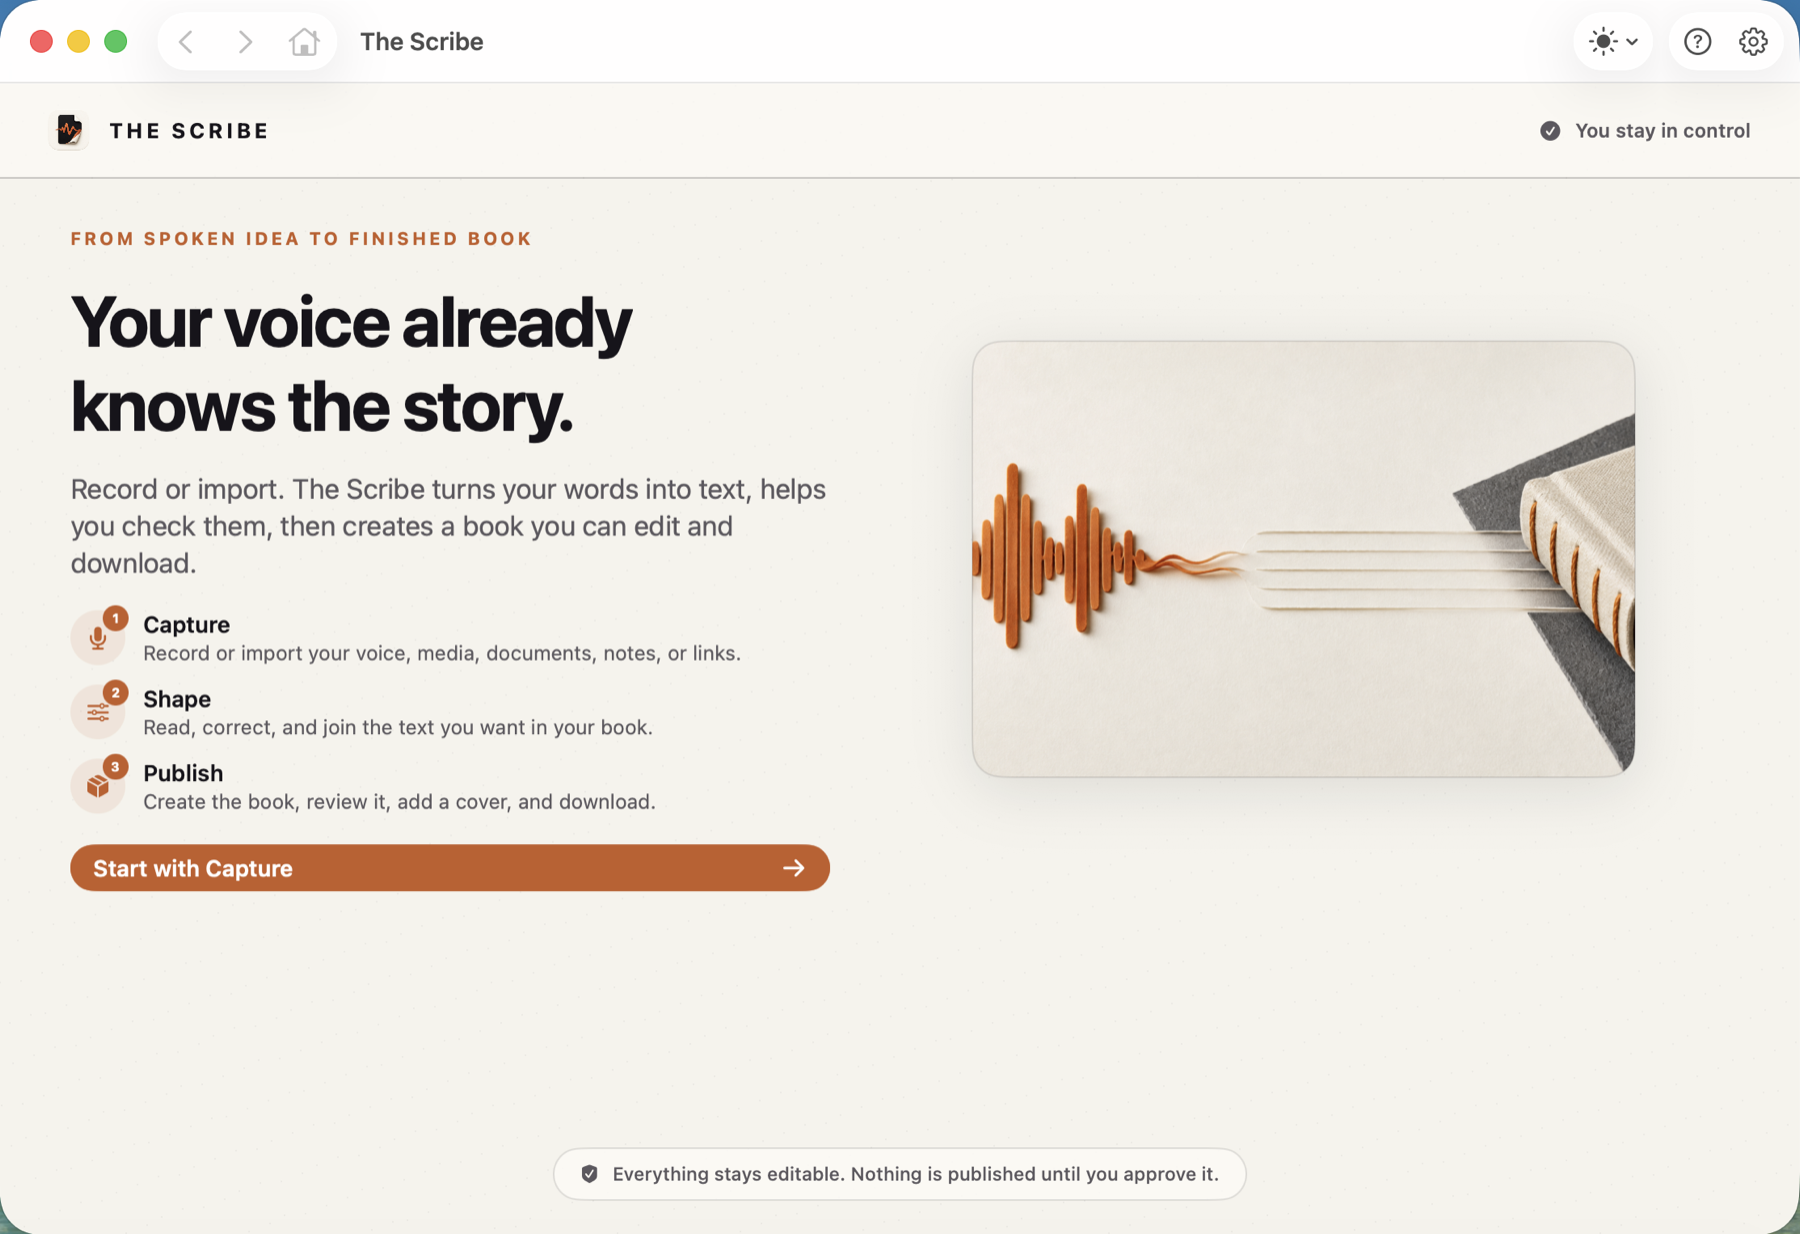
Follow this workflow to produce cleaner recordings, more accurate transcripts, stronger prose, and professional books—without losing your original voice.

Creator preparing a clear recording with a microphone, headphones, and visible waveform

Important before your first project

Allow time for first-time setup. The Scribe may download required transcription models and supporting components when you first use relevant features. The duration depends on your network speed. Keep the application open and connected to power until setup finishes.

Transcription runs locally. Processing time depends on the recording length, selected model, processor, memory, and speed of your computer. Wait for transcription to finish; do not close the application, move or rename the audio file, or turn off the computer while it is working.

Use only material you have the right to process. You are responsible for copyright, permissions, privacy, recording consent, legal compliance, and reviewing the finished output. To the fullest extent permitted by law, liability arising from content you download, process, transcribe, or publish rests with you.

The golden workflow
Record completely → verify the audio → transcribe → correct facts → polish → build → export.
Begin with Step 1 ↓
A quiet recording setup with correct microphone placement and a live waveform
1

Prepare before you press Record

A good transcript begins with clean source audio. Choose a quiet, soft-furnished room and put the microphone 6–10 inches from your mouth.

  • Connect your microphone before opening Live Capture.
  • Close loud fans and unnecessary applications.
  • Write five talking points—do not script every sentence.
  • Keep water nearby and silence notifications.
Best practice: Say unusual names, technical terms, and chapter titles clearly at the beginning. This gives you an easy reference during review.
2

Start Live Capture and watch the waveform

Open Start Live Capture, select the correct microphone, and record the complete session. The waveform should move continuously when you speak.

  • Record a 10-second test and listen back before a long session.
  • Avoid touching the desk or microphone while speaking.
  • Pause briefly between major ideas to create natural editing points.
  • For multi-hour sessions, keep the computer connected to power.
Healthy waveform: visible peaks without constantly hitting the top. A flat line means the wrong input or no signal; solid maximum peaks indicate clipping.
3

Stop, save, and verify the recording

When finished, stop the capture and let The Scribe finalize the audio. Play a section near the beginning, middle, and end before starting transcription.

  • Confirm voices are audible and the duration looks correct.
  • Rename the project with a useful title and date.
  • Keep the source audio until the transcript and export are verified.
Author reviewing a transcript beside its waveform and organizing chapter cards
4

Transcribe the completed recording

Choose the saved audio and begin transcription. Because transcription happens locally, completion time depends on the recording length, selected model, processor, memory, and speed of your computer.

  • Wait until The Scribe confirms transcription is complete.
  • Do not close the application, turn off the computer, or move or rename the source audio while processing.
  • Use the strongest available transcription model for accented, noisy, or technical speech.
  • Break extremely long source material into logical sessions when possible.
  • Failed or empty attempts do not consume one of your seven free projects.
Accuracy first: recording fully before transcription preserves context and avoids the errors that can occur when speech is transcribed in tiny live fragments.
5

Correct facts before creative rewriting

Read the raw transcript once while checking names, numbers, quotations, scripture references, and specialist terms against the audio.

  • Remove obvious false starts only when they add no meaning.
  • Keep important stories, examples, and distinctive turns of phrase.
  • Add headings where the subject naturally changes.
  • Save this corrected transcript as your factual master.
Never skip this pass: AI polish improves writing, but only you can confirm proper names, private facts, and the precise meaning you intended.
6

Choose the right AI polish level

Work on one meaningful chapter or section at a time. Compare the result with your factual master before accepting it.

LightGrammar, spelling, clarity, and errors. Best when the writing already sounds like you.
StandardExpands and strengthens your existing ideas without losing the central focus.
DeepEditorial ghostwriting with fresh, original context for a richer and more rounded chapter.
ÜberMaximum transformation: develops sparse source material into ambitious book-quality prose.
Best sequence: start with Standard. Move to Deep or Über only where the source needs development. Use Light for final cleanup after your structural edits.
Finished hardcover book, manuscript, cover concepts, and professional publishing materials
7

Build a coherent book

Open Build a Book and arrange polished sections into a reader journey, not merely recording order.

  • Begin with the reader’s problem, promise, or compelling story.
  • Give every chapter one clear job.
  • Move repeated ideas into the strongest chapter and remove duplicates.
  • Add an introduction last, after you know what the book truly became.
  • Use the cover and illustration tools to establish a consistent visual language.
8

Export, inspect, and protect the work

Export a review copy first. Check page breaks, headings, image quality, table of contents, margins, and the first and last page of every chapter.

  • Word: best for editors and tracked changes.
  • PDF: best for proofing a fixed layout.
  • EPUB: best for e-readers and online bookstores.
  • Audiobook: preview pronunciation and pacing before final generation.
  • Keep the project file and final exports in two separate storage locations.
Safe cleanup: delete large audio only after the transcript, project, and final export have been checked and backed up.
Recommended starting points

Match the workflow to your project.

ProjectStart withRecommended approachSermon or lectureStandard polishPreserve quotations and references; organize by teaching point.Podcast or interviewLight → StandardIdentify speakers, remove repetition, retain authentic stories.MemoirDeep polishWork chronologically, verify facts, and preserve the narrator’s personality.Book from brief notesÜber polishProcess one chapter premise at a time and fact-check every addition.Long recordingComplete capture firstConnect power, verify storage, save audio, then transcribe.
Ready when you are

Your first seven projects are free.

No card and no deadline. Begin with one clear recording and let the workflow carry you from a living voice to a lasting work.

Download The Scribe